Tutorial - Converting a PyTorch model to TensorFlow.js
In this tutorial, I will cover one possible way of converting a PyTorch model into TensorFlow.js. This conversion will allow us to embed our model into a web-page. Someone might ask why to bother with TensorFlow.js at all when onnx.js or even torch.js already exist? To be completely honest, I tried to use my model in onnx.js and segmentation part did not work at all, even though the depth predictions were decent. Furthermore, onnx.js does not yet support many operators, such as upsampling, which forced me to upsample by concatenation and led to subpar results.
Step 0 – Setup
Here, as our PyTorch model we will consider Light-Weight RefineNet with the MobileNet-v2 backbone pre-trained on PASCAL VOC for semantic image segmentation.
Besides that, we will also need this repository for converting the PyTorch model into Keras first.
Please follow each repository’s README for installation notes.
git clone https://github.com/DrSleep/light-weight-refinenet.git
# Follow README to install Light-Weight-RefineNet
git clone https://github.com/nerox8664/pytorch2keras.git
# Follow README to install pytorch2keras
To verify the installation of Light-Weight RefineNet, make sure that the VOC Jupyter notebook in ./examples/notebooks/VOC.ipynb produces decent results.
Step 1 – Preparing PyTorch model
Now, we will need to modify the code a bit as our conversion to Keras would first require the intermediate conversion to ONNX. The conversion to the ONNX-graph, in turn, forces us to have explicit shapes when upsampling intermediate feature maps.
In particular, we will replace all lines in ./light-weight-refinenet/models/mobilenet.py that contain nn.Upsample(size=..., align_corners=True) with nn.Upsample(scale_factor=2, ..., align_corners=False) (as align_corners=True is not yet supported in ONNX).
We will also modify pytorch2keras to support bilinear upsampling: in particular, amend the following pieces in the function convert_upsample inside ./pytorch2keras/pytorch2keras/upsampling_layers.py:
if params['mode'] != 'nearest':
    interpolation = 'bilinear'
else:
    interpolation = 'nearest'
# keep the rest unchanged
upsampling = keras.layers.UpSampling2D(
    size=scale, name=tf_name, interpolation=interpolation)
# the rest is unchanged
Step 2 – Converting the PyTorch model to Keras
We will use Keras as our intermediate representation. Again, it is not written in stone, and you may find other ways of getting to TensorFlow.js, but in my experience the conversion to Keras carries several benefits, including an easier conversion to TensorFlow.js and TensorFlowLite for Android applications.
Considering you have followed all the instructions above, we are now ready to convert our PyTorch model.
First, we will hide any CUDA devices per requirements of pytorch2keras:
import os
os.environ['CUDA_VISIBLE_DEVICES'] = ''
Then, we will append the path of the Light-Weight RefineNet repository to PYTHONPATH:
import sys
sys.path.append("<path-to-light-weight-refinenet>")
And create the model with 21 classes (corresponding to 20 semantic classes + background in PASCAL VOC):
from models.mobilenet import mbv2

net = mbv2(21, pretrained=True).eval() # setting eval so batch norm stats are not updated
We will also create a dummy input, which we will feed into the pytorch_to_keras function in order to create an ONNX graph. Since we are planning to use the converted model in the browser, it is better to provide smaller inputs. Note that you can also explicitly set None in place of height and width to make the converted model fully-convolutional. Beware though that for TFLite you need to provide the shape explicitly. Additionally note that since our upsampling function in PyTorch now contains explicit scale factors, the input shape must be divisible by 32 (output stride of the MobileNet-v2 model), otherwise an error will be raised when summing up various branches in Light-Weight-RefineNet.
import torch
from pytorch2keras.converter import pytorch_to_keras

x = torch.randn(1, 3, 224, 224, requires_grad=False)
k_model = pytorch_to_keras(net, x, [(3, None, None,)], verbose=True, names='short')
k_model.save('keras.h5')
This should result in a successful conversion of the model and creation of a new file called keras.h5 in your folder.
Step 3 – Convert to TensorFlow.js
Next, we will convert to TensorFlow.js. Follow the instructions here to install relevant scripts.
After that, run the following in your terminal:
tensorflowjs_converter --input_format keras \
                        <path-to-keras-model> \
                        <name-of-the-folder-to-save-js-model>
Step 4 – Test your model in TensorFlow.js
Finally, we are ready to use our model in TensorFlow.js. For this, considering that the tf.js library is pre-loaded, you can initialise your model by executing const model = await tf.loadLayersModel('<path-to-model.json>') and running it on random inputs model.predict(tf.randomNormal([1,3,224,224])).print(). If all works well, congratulations! Otherwise, check out the diagnostics message in your browser console – it should provide you with a clue of what went wrong.
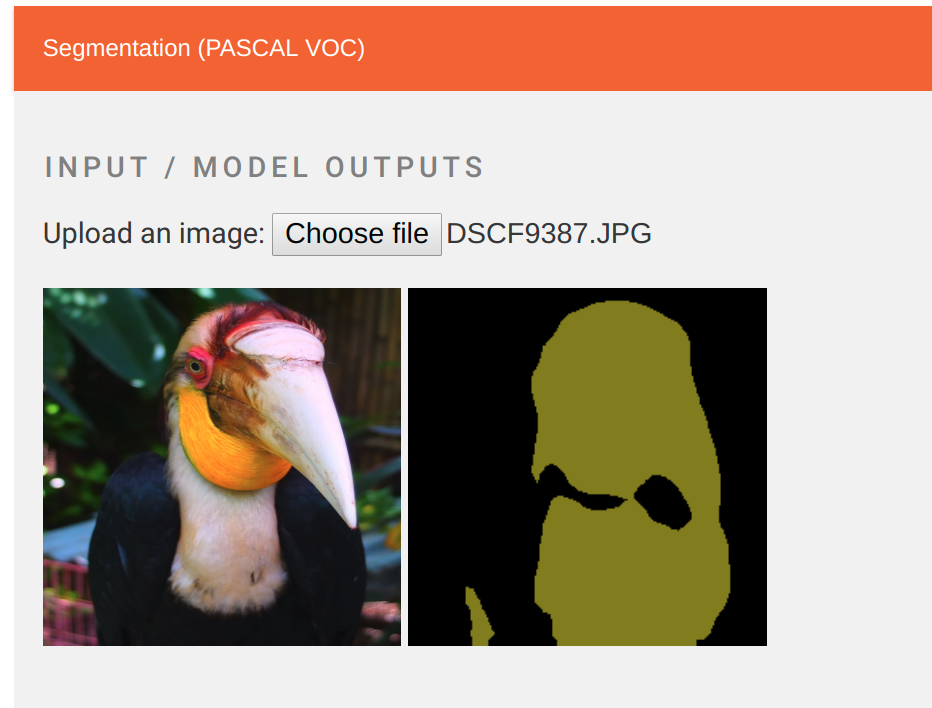
It is up to you now to decide what you would want to do with your model – for inspiration and guidance, refer to examples here! Working demos with converted Light-Weight RefineNet and Multi-Task RefineNet are available here! Currently, demos are only working with WebGL-supported devices; also note that the first inference takes significantly more time than the consecutive ones.

Additional Notes
In case you want to convert your own PyTorch model, be aware that as of now, pytorch2keras has several limitations: first, nn.ModuleList is not supported. If any instances of it are present in your code, you would need to expand it into separate layers manually. Secondly, several operations are not yet supported either by ONNX itself or pytorch2keras – more on that here and here.


Comments